Gaining Experience In DevOps: EC2 Instance Internet Access
June 19, 2023 • 11 mins read

Have you launched an EC2 instance on AWS before? And then wondered what makes EC2 instances accessible to the Internet 🤔?
If Yes, let's discuss these questions in depth over a practice that I hope will illuminate the way you deal with AWS services.
For most of us, launching an EC2 instance has been a great experience, especially when using AWS manually through its friendly website 😉 or by doing it with Infrastructure as Code tools such as Terraform. At the end of the process, we have a virtual server deployed and made available on the internet via its public IPv4 address or public DNS name.
The most common example has been of launching a Linux EC2 instance with the Apache
HTTP server or httpd already up, running, and delivering a simple HTML file at
the default route "/".
Well, we can go through the same example just for review purposes:
- Go ahead, and log into AWS with your root account
- Browse for EC2 in the search box
- Click the orange button "Launch instance"
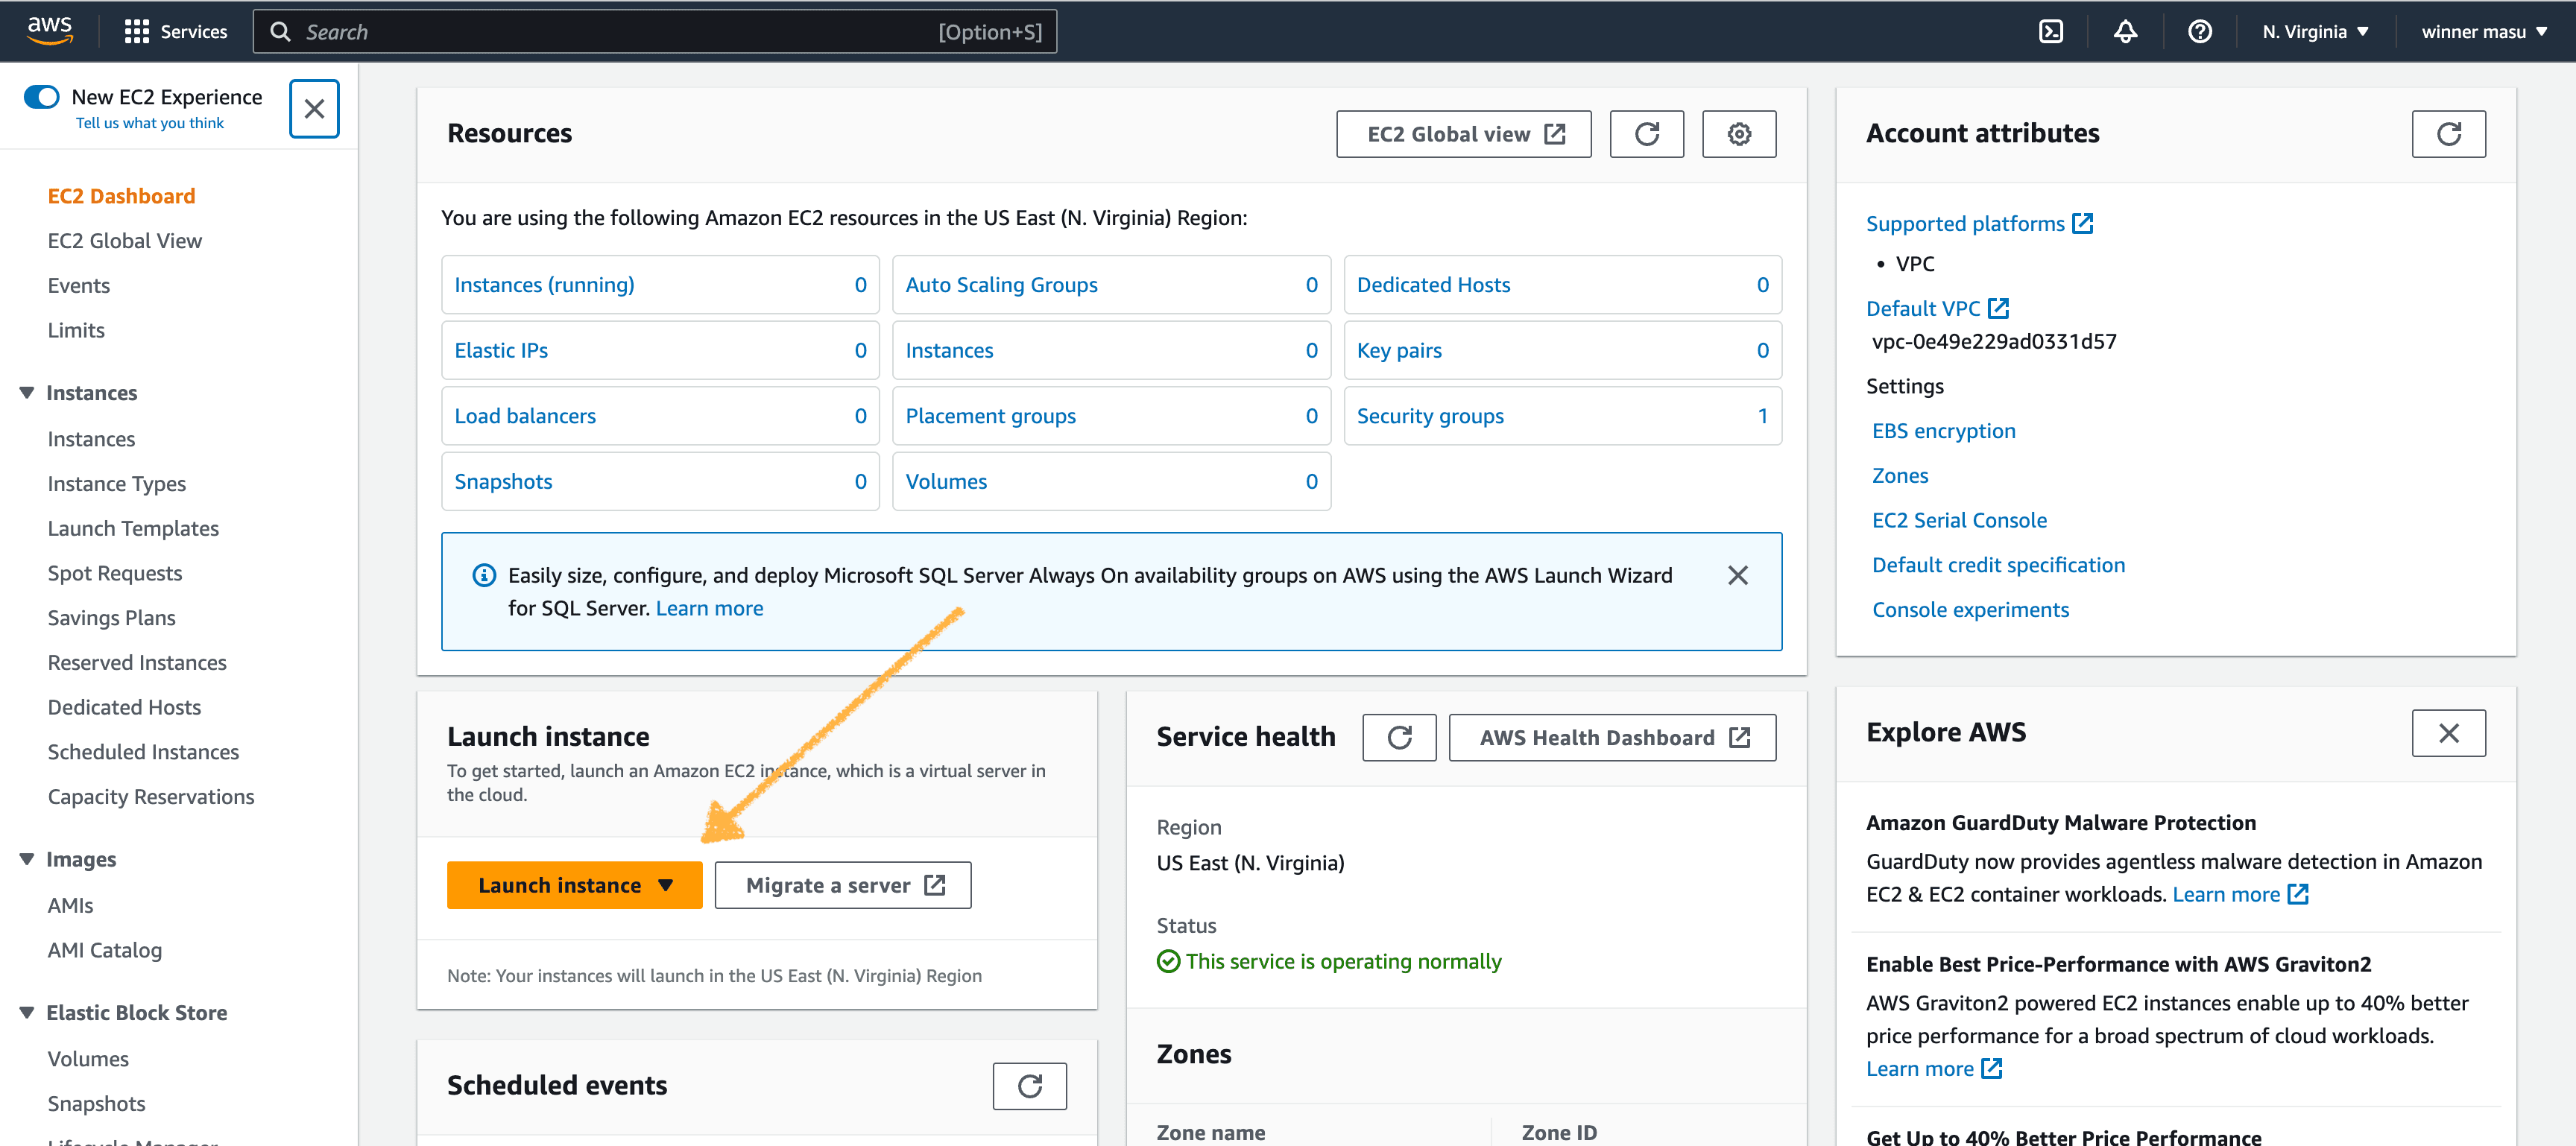
- Next, name your EC2 instance
- Choose the Amazon Linux 2023 AMI
- Stick to the t2.micro instance type
- Proceed without a key pair in the key pair section
- Select Create security group, and check the option "Allow HTTP Traffic from the Internet"
- In the Advanced details section, scroll to the bottom and paste the script below in the user data field:
#!/bin/bash
yum -update -y
yum install -y httpd
systemctl start httpd
systemct enable httpd
echo "<h1>EC2 Instance Internet Access ⚡️</h1>" > /var/www/html/index.html- Finally, click the Launch instance button
Great, we have just launched our EC2 instance in no time and can even access the simple HTML page that the pre-installed Apache server is delivering. So get your EC2 instance public IPv4 address and open the next URL in your browser:
http://<YOUR EC2 INSTANCE IPv4>/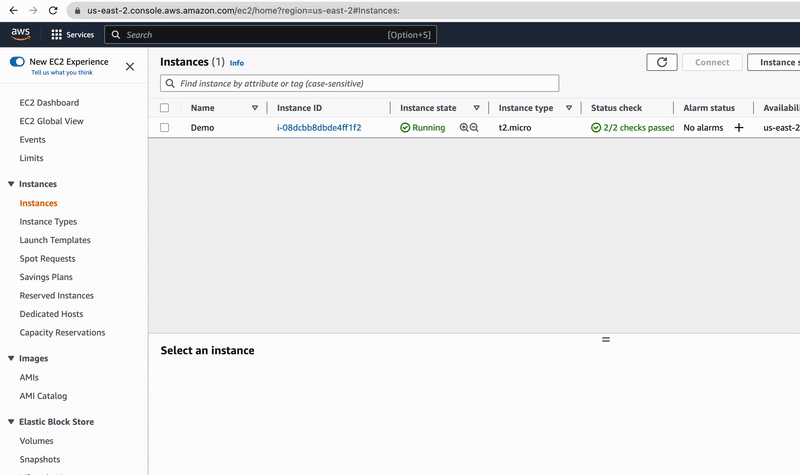
See, not only was it easy to launch this EC2 instance but also we put an HTML page on it that can be accessed anywhere. Now the big question here is:
How do AWS EC2 instances have internet access?
👉🏽 The answer to the question is simple, AWS uses Virtual Private Cloud (VPC) to expose some EC2 instances to the world wide web. Though this is just a part of the answer, let's see how VPC does this task in the next lines.
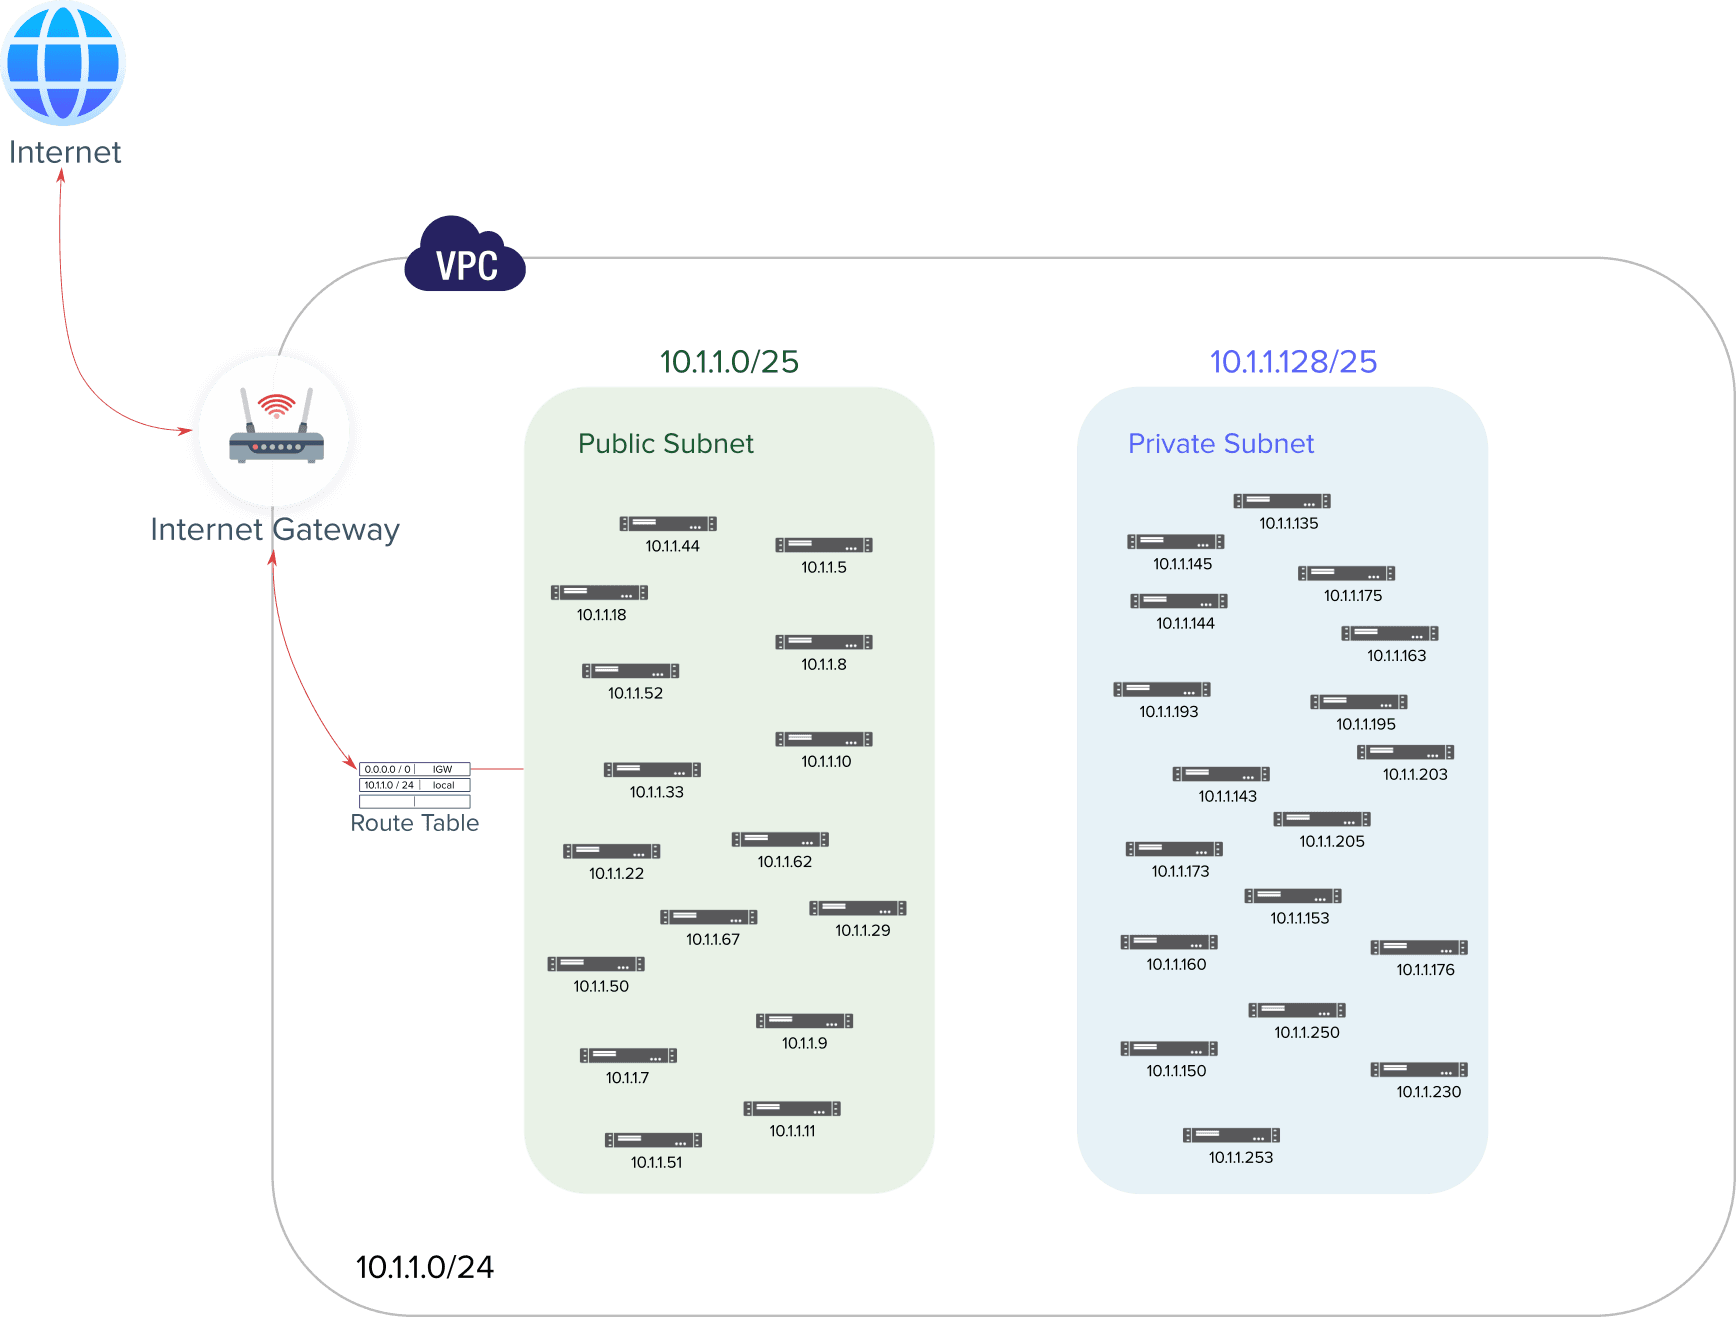
AWS Virtual Private Cloud
AWS VPC is a virtual network infrastructure that allows us to create and manage private virtual networks within AWS, it gives us the appropriate environment where we can:
- Design an isolated virtual network
- Define IP addresses and split them into subnets
- Determine how network traffics should flow
- Open the network to the Internet 🔑.
By default, your AWS account is provided with a virtual private cloud that EC2 instances are launched into, this saves us from complex network configurations which would have made EC2 hands-on less exciting, especially for beginners.
A simple analogy is when you have your phone connected to a coffee shop or an airport network, there your device uses a physical network infrastructure that you have never configured, and of which you do not know the level of security.
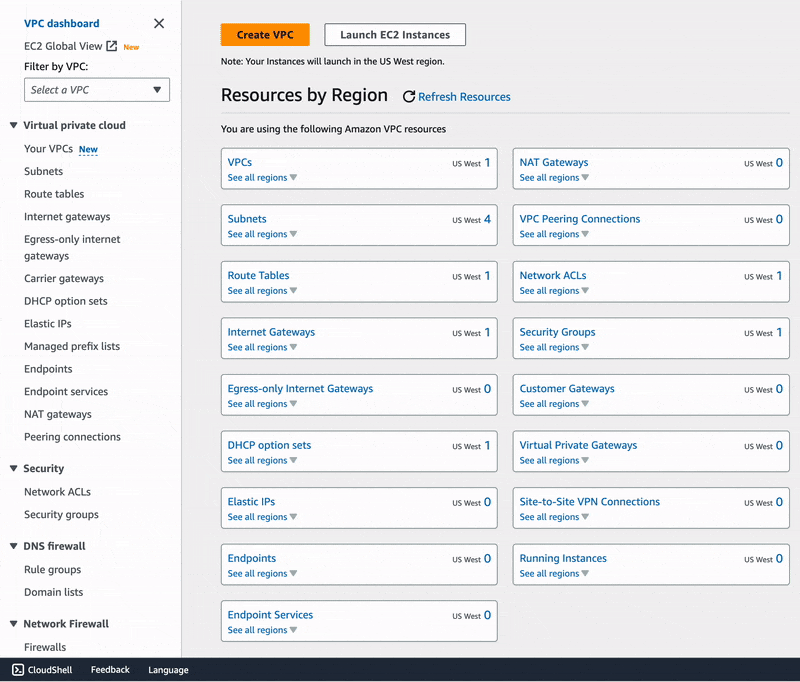
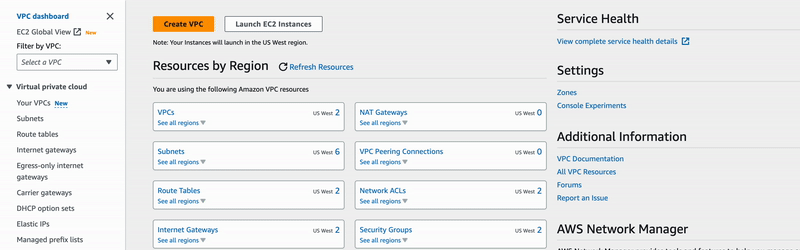
Now that we are somehow comfortable dealing with EC2, let's get our hands on the VPC service and configure our own network infrastructure. To do so, log back into your AWS and search for VPC.
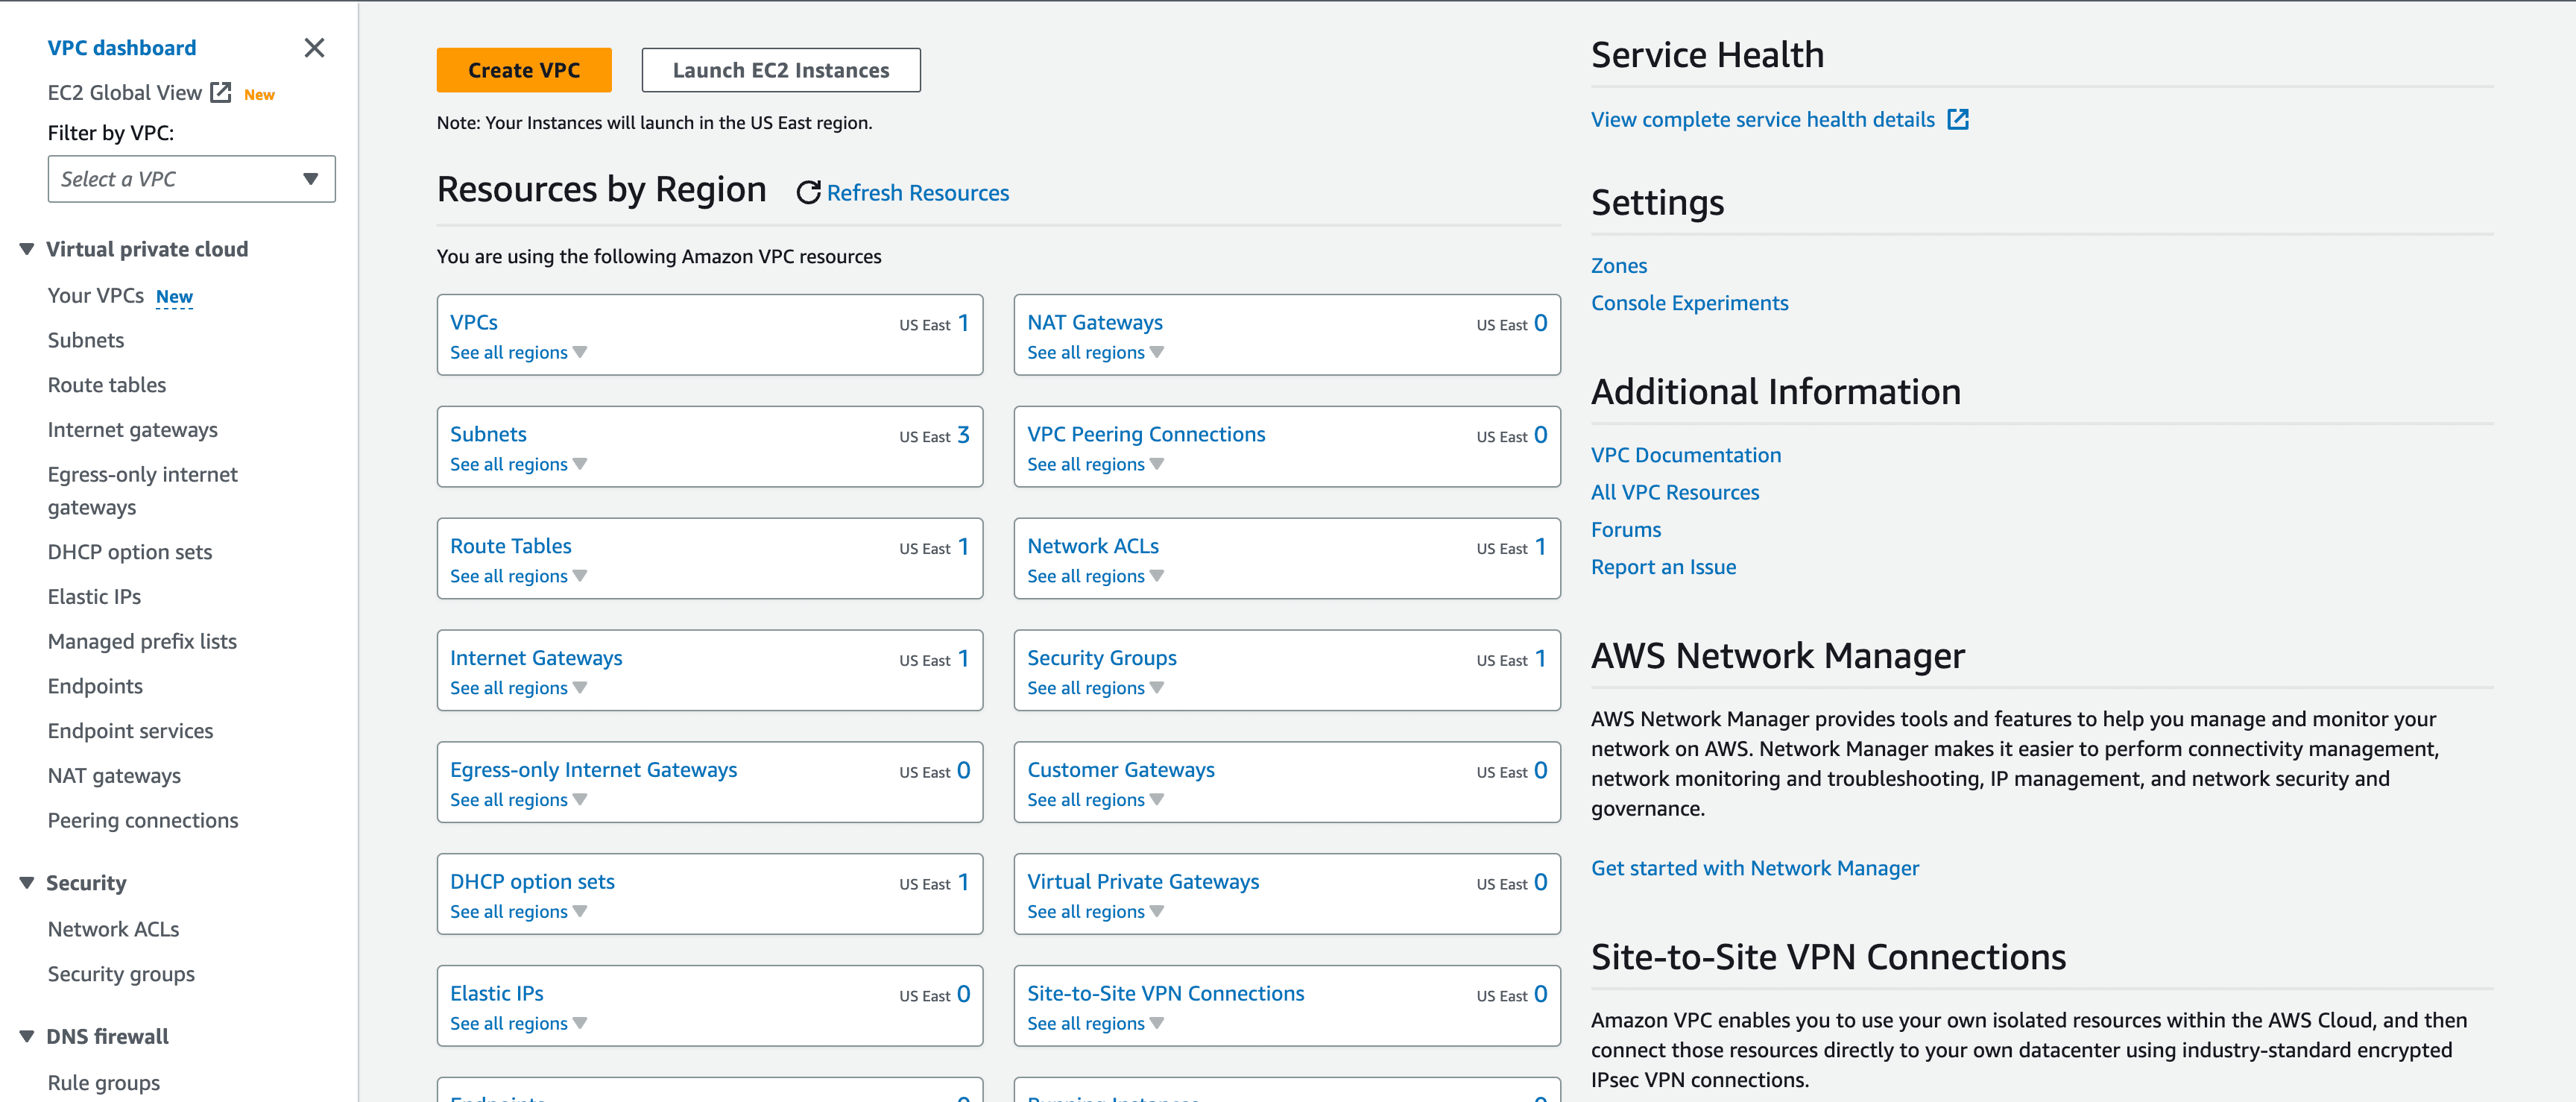
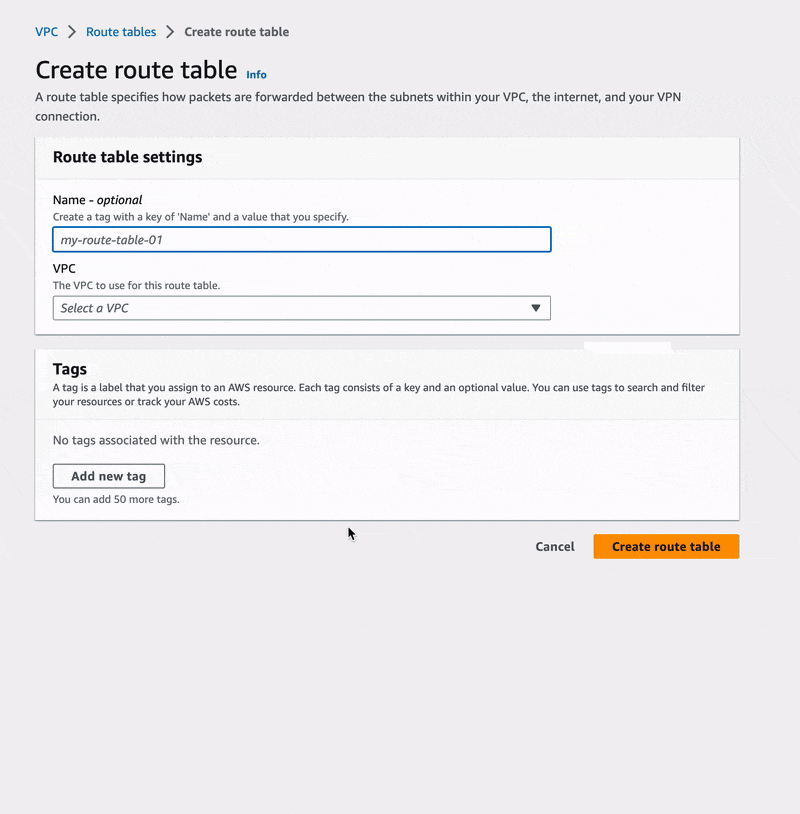
On the VPC dashboard page, click the orange button "Create VPC" which leads to the page where you will name your VPC, choose an IPv4 CIDR block, tell whether you want to use IPv6 or not, and decide the type of hardware EC2 instances in this VPC should use.
🔖 As shown in the gif image above we have named our VPC VPC-Demo and have chosen
10.1.1.0/24 to be our VPC IPv4 CIDR block. CIDR
in short just helps us define our network IP address and reserve a number of IP addresses
for hosts or other devices connected to the network.
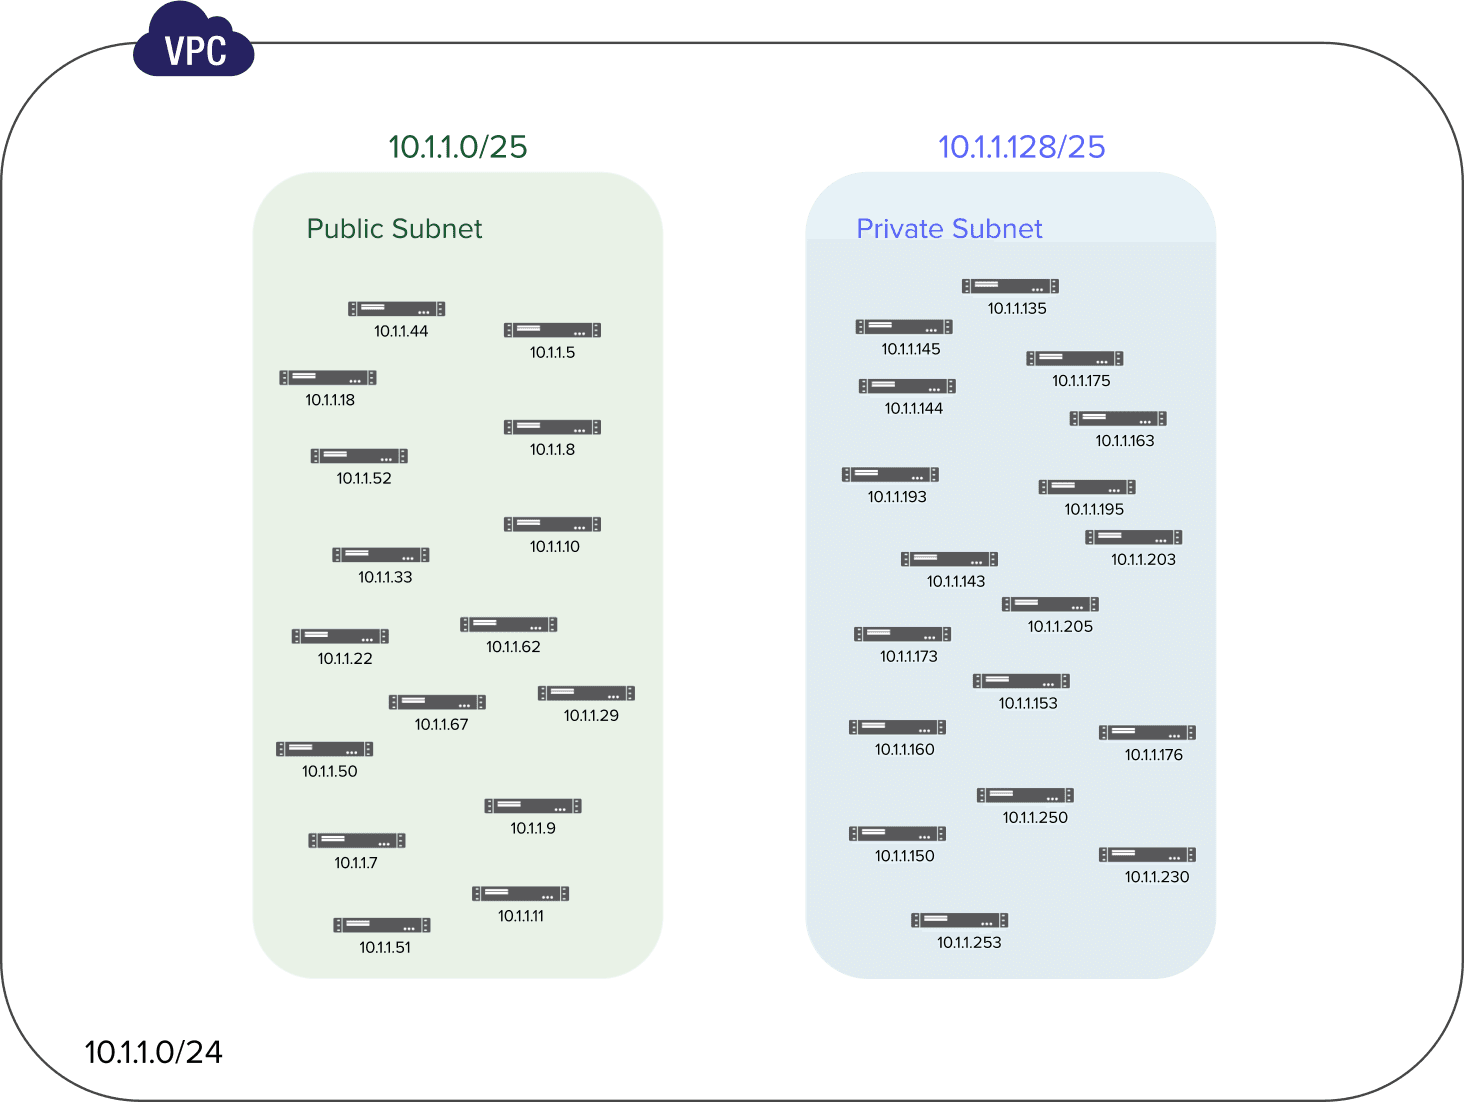
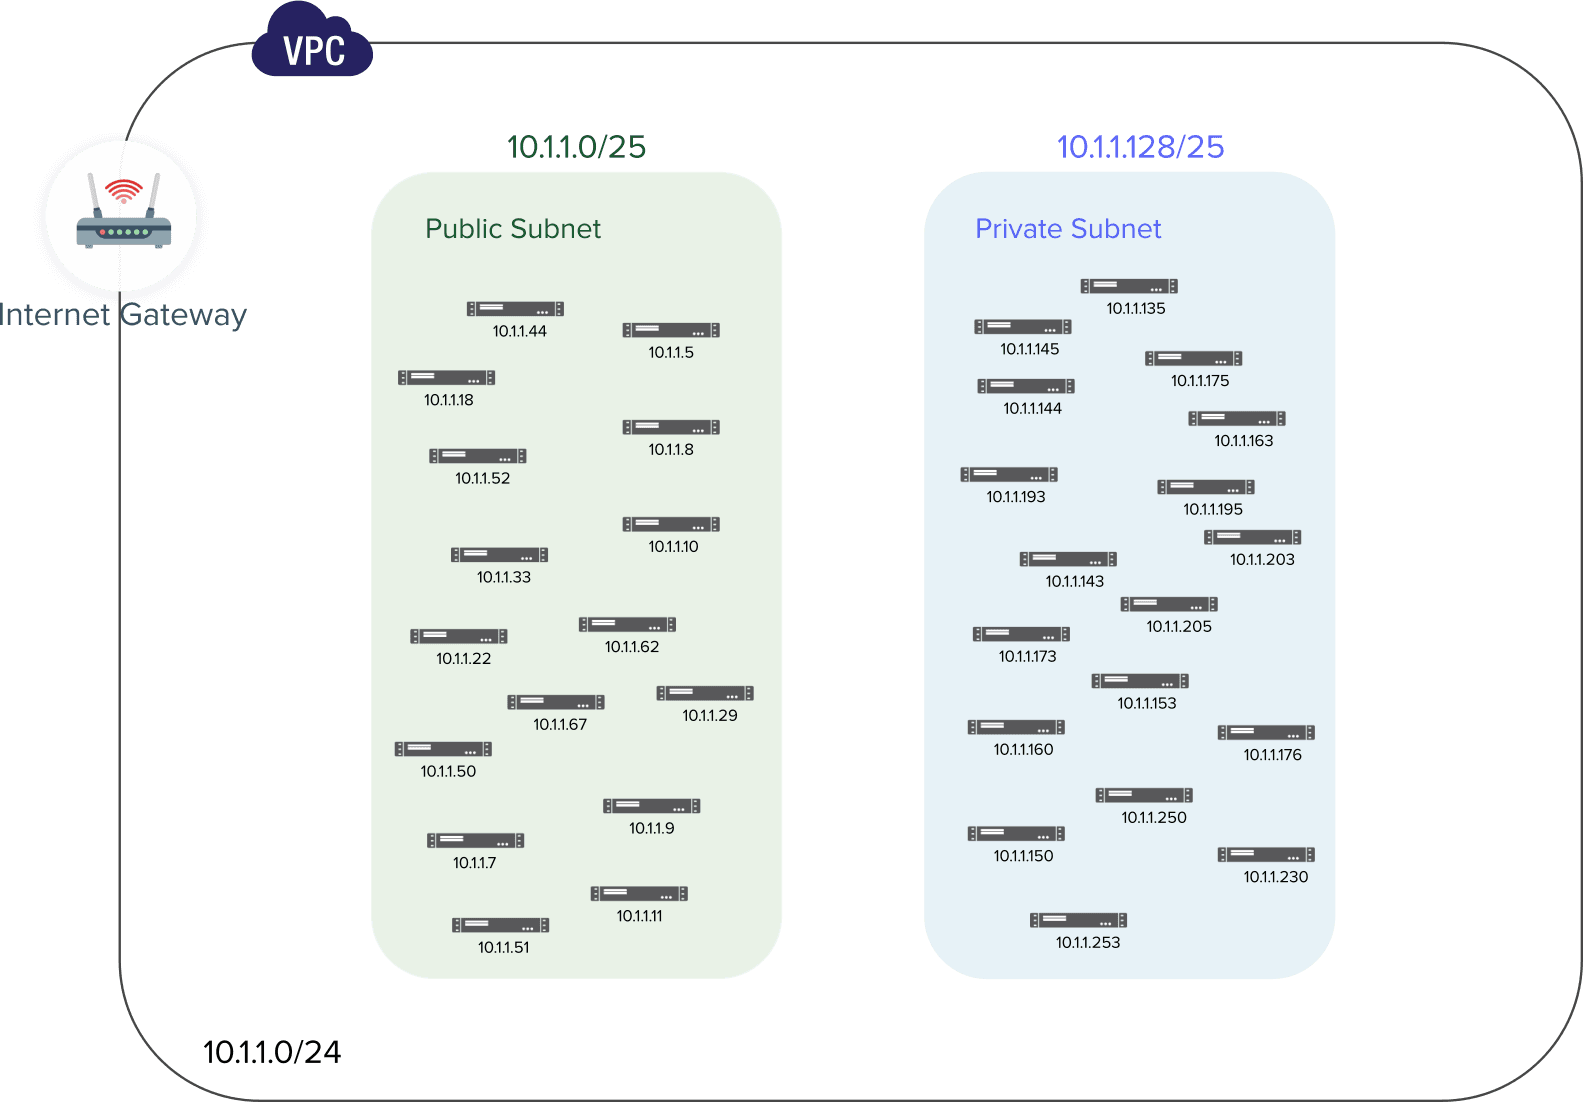
For this practice, our network is 10.1.1.0/24 meaning that we potentially want a total of 256 hosts with private IPv4 addresses ranging from 10.1.1.0 to 10.1.1.255 within the network.
Note: 📌 It is important to specify that these IP addresses are all private, they can only be used to ensure hosts communication within our Virtual Private Cloud.

As we can see in the image above, our network is made up of a good number of available IP addresses that are not well organized which may lead to issues such as:
- Inefficient IP address allocation
- Complex network management
- Increased network congestion
Well, this is the moment where subnetting plays an important role, we need to organize our VPC into subnets or smaller networks so that our IP addresses could be grouped based on specific needs. For this hands-on, we are going to divide our virtual network into two subnets:
- Public Subnet
- Private Subnet
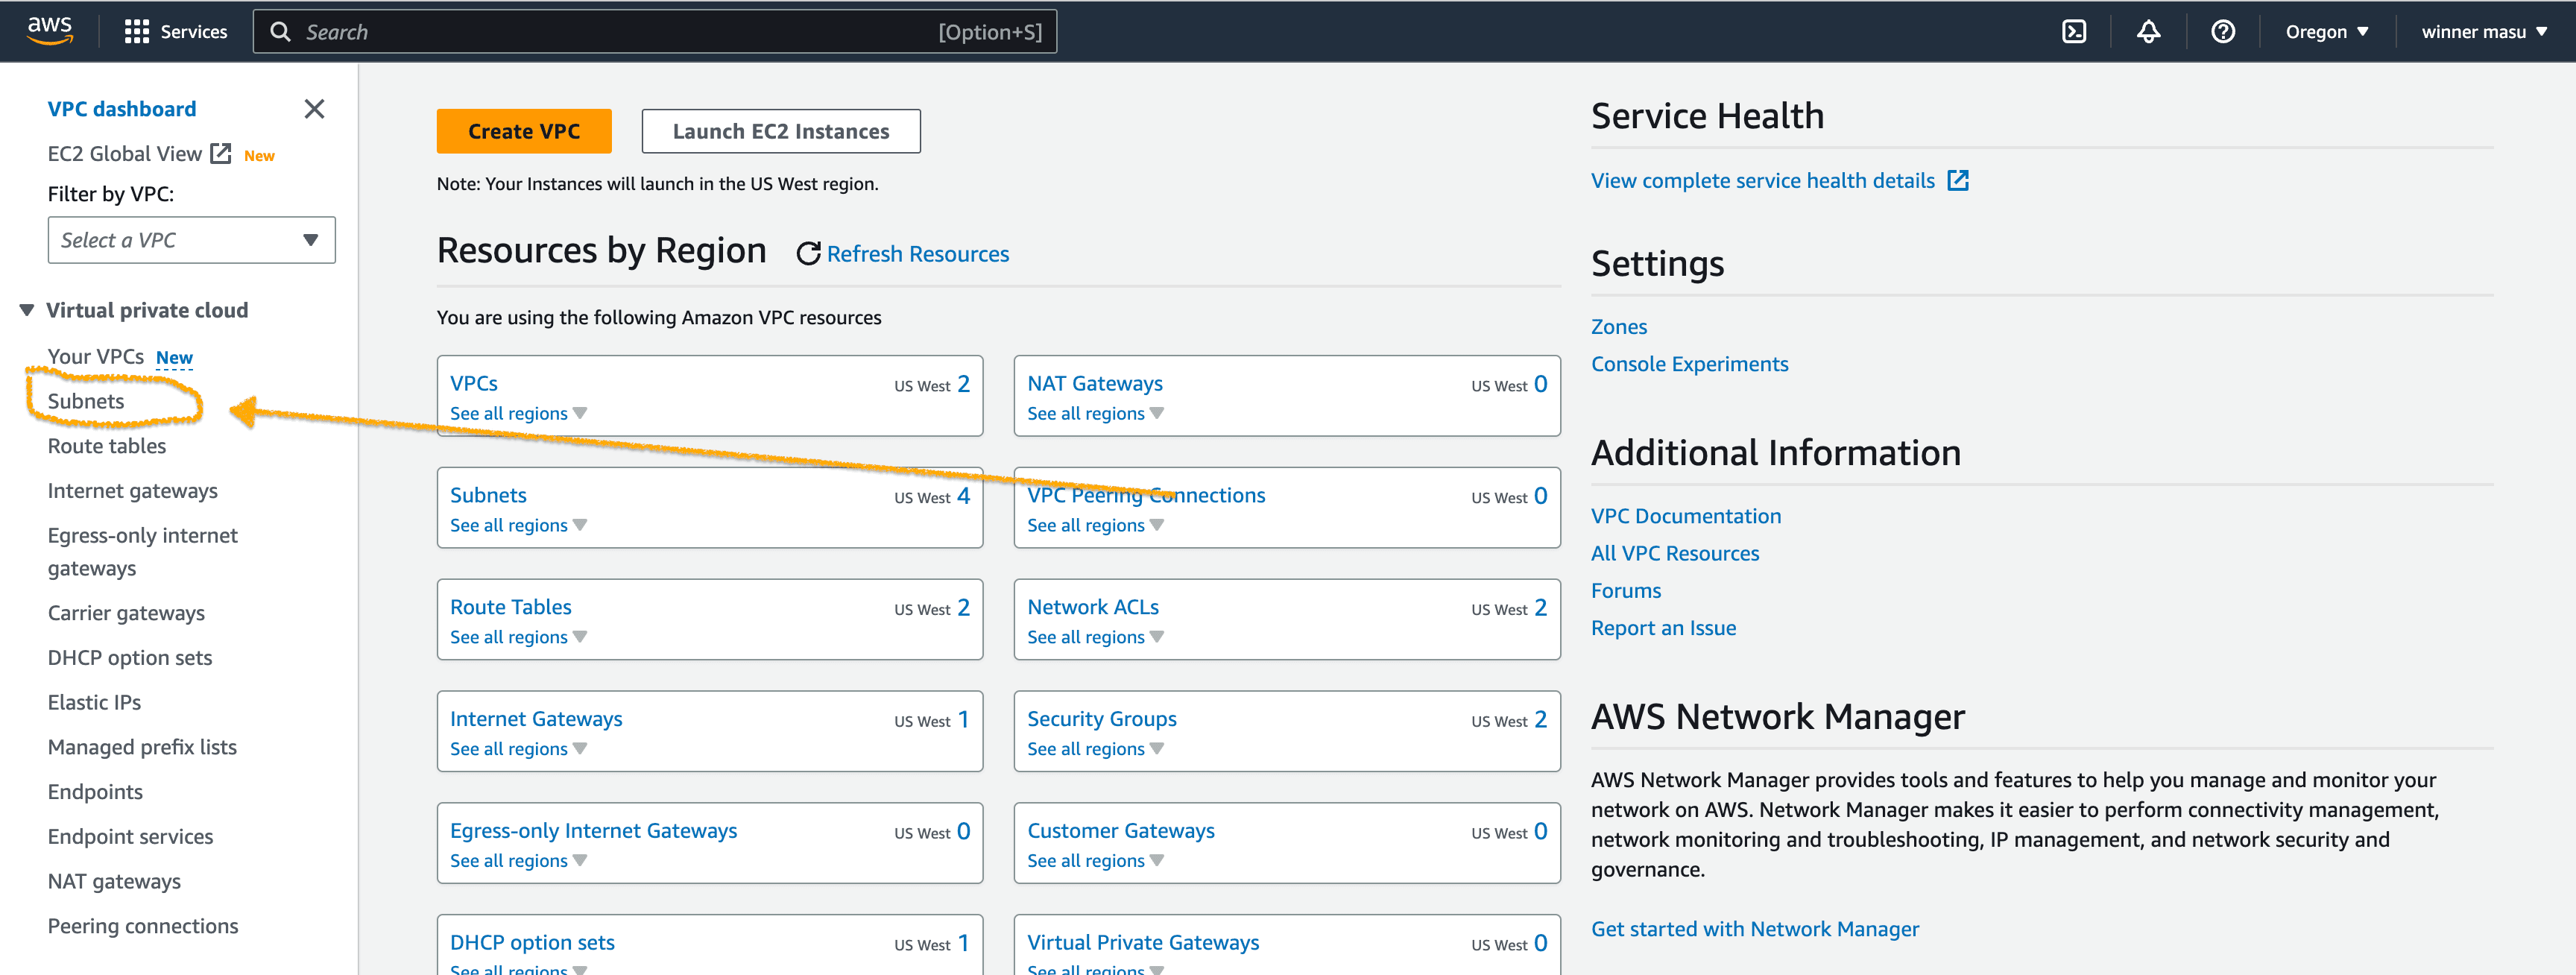
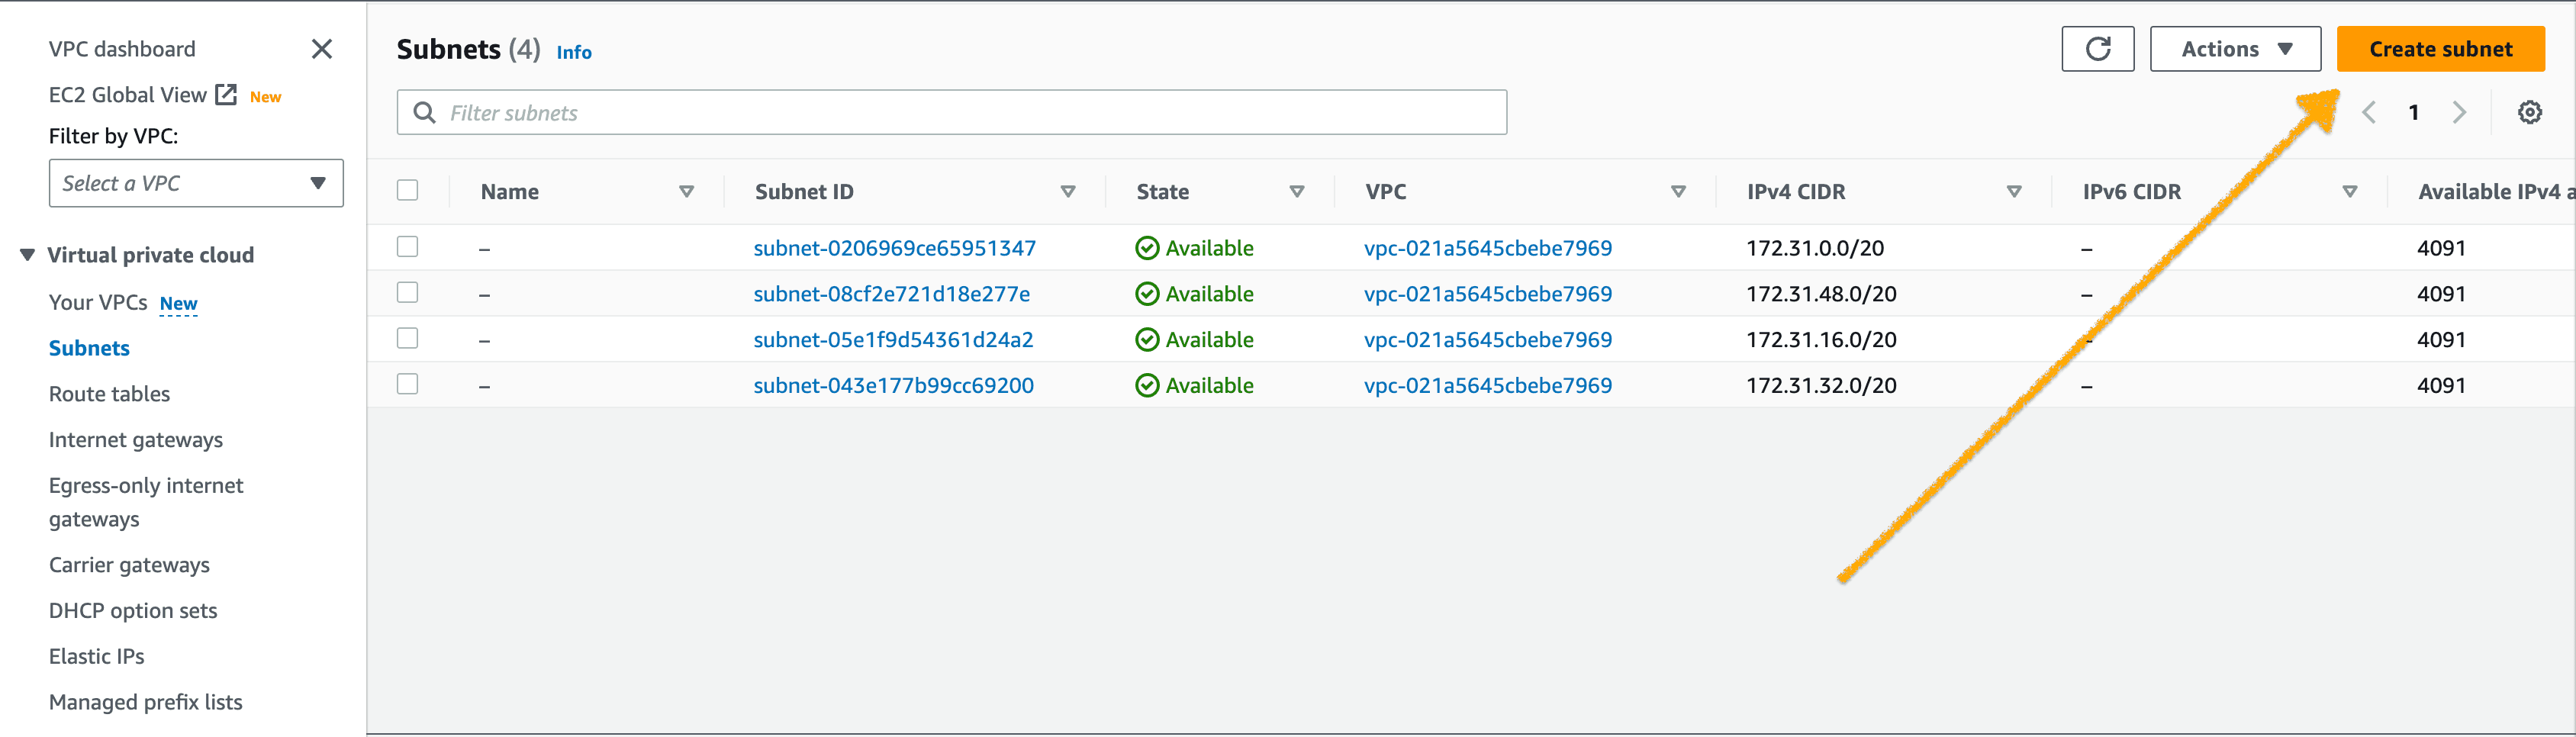
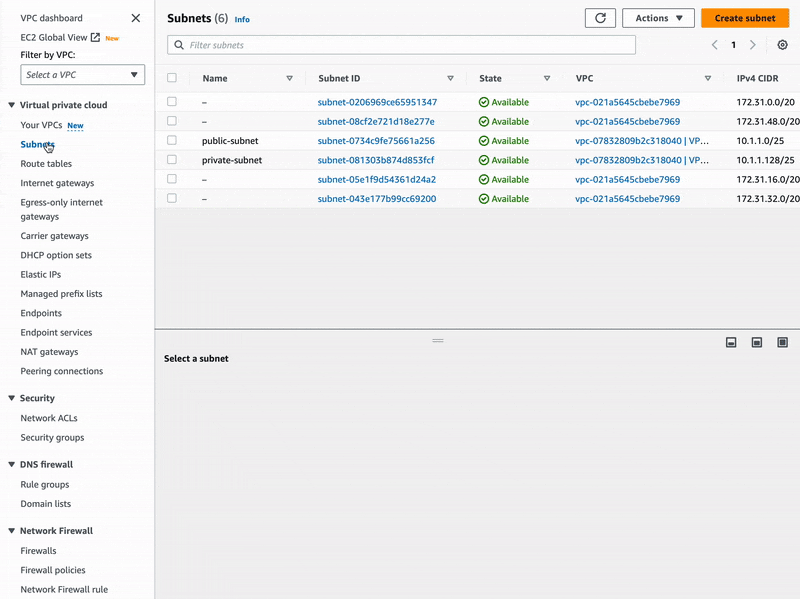
Without further ado, let's navigate back to our VPC dashboard page and open the Subnets menu on the left side.
Then click on the orange button "Create subnet"
Our public subnet will have an IPv4 CIDR block of 10.1.1.0/25 with 128 IP addresses ranging from 10.1.1.0 to 10.1.1.127 and the private subnet IPv4 CIDR will be 10.1.1.128/25 also with 128 IP addresses from 10.1.1.128 to 10.1.1.255.
See how the two subnets were added below:
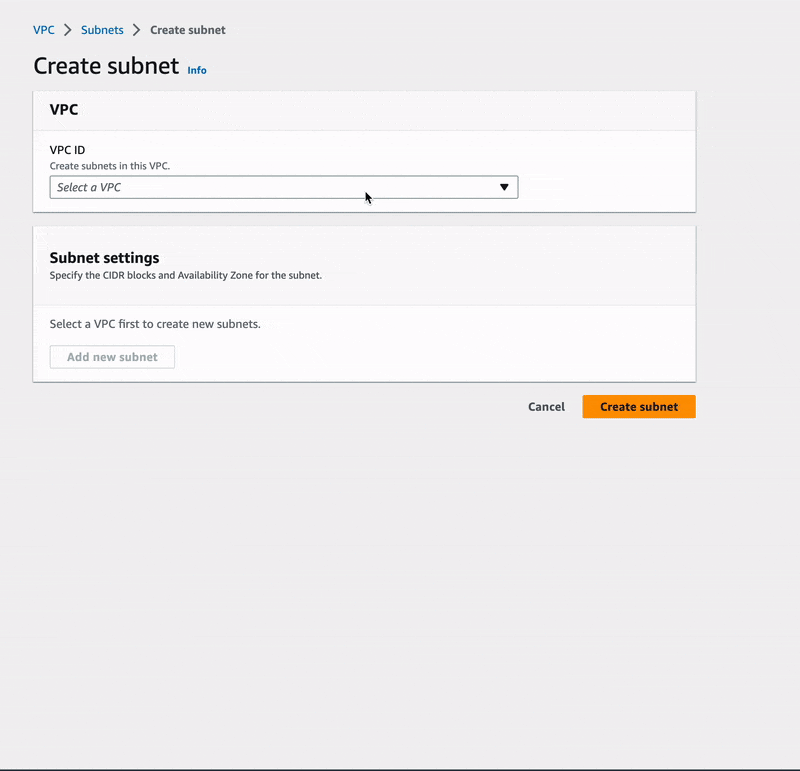
🔖 The first thing we did while creating our subnets was to associate them with the VPC-Demo created earlier, otherwise AWS could have linked them to the default VPC.
Next, we moved to the subnet settings to name our first subnet public-subnet, choose
an availability zone, and add its IPv4 CIDR block which was 10.1.1.0/25.
🎯 Later in this practice, we will set up this subnet to automatically assign public IPv4 addresses to any EC2 instance created within it.
Finally, the second subnet was named private-subnet, put in the same availability
zone as the first, and given 10.1.1.128/25 for its IPv4 CIDR block.
Great, now we have a more organized network ✌🏽, let's then try to work on the Internet access into our VPC.
VPC Internet Access
Our network as defined before is really private 🔐, to say that it has no contact with other networks. To enable an Internet connection, we need to create an Internet Gateway (IGW) and attach it to our VPC.
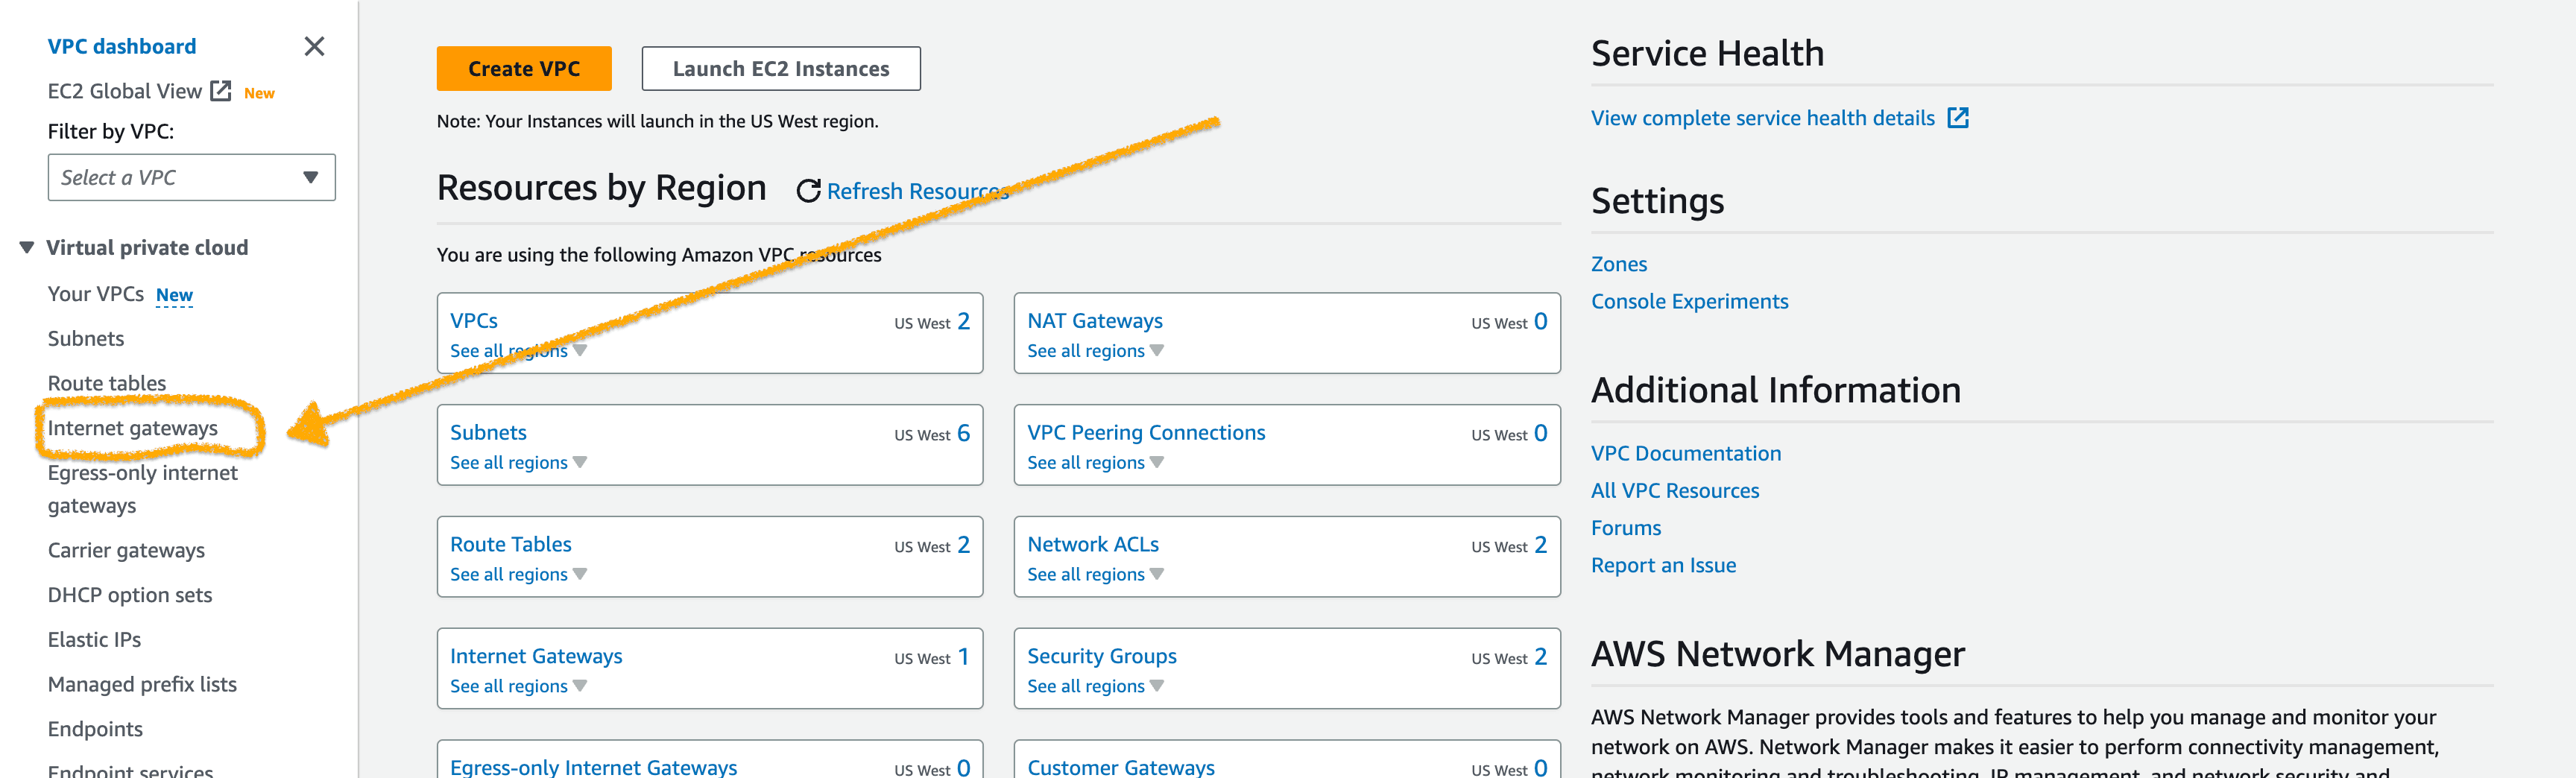
So for that, move back to the VPC dashboard page and click the internet gateways menu on the left side.
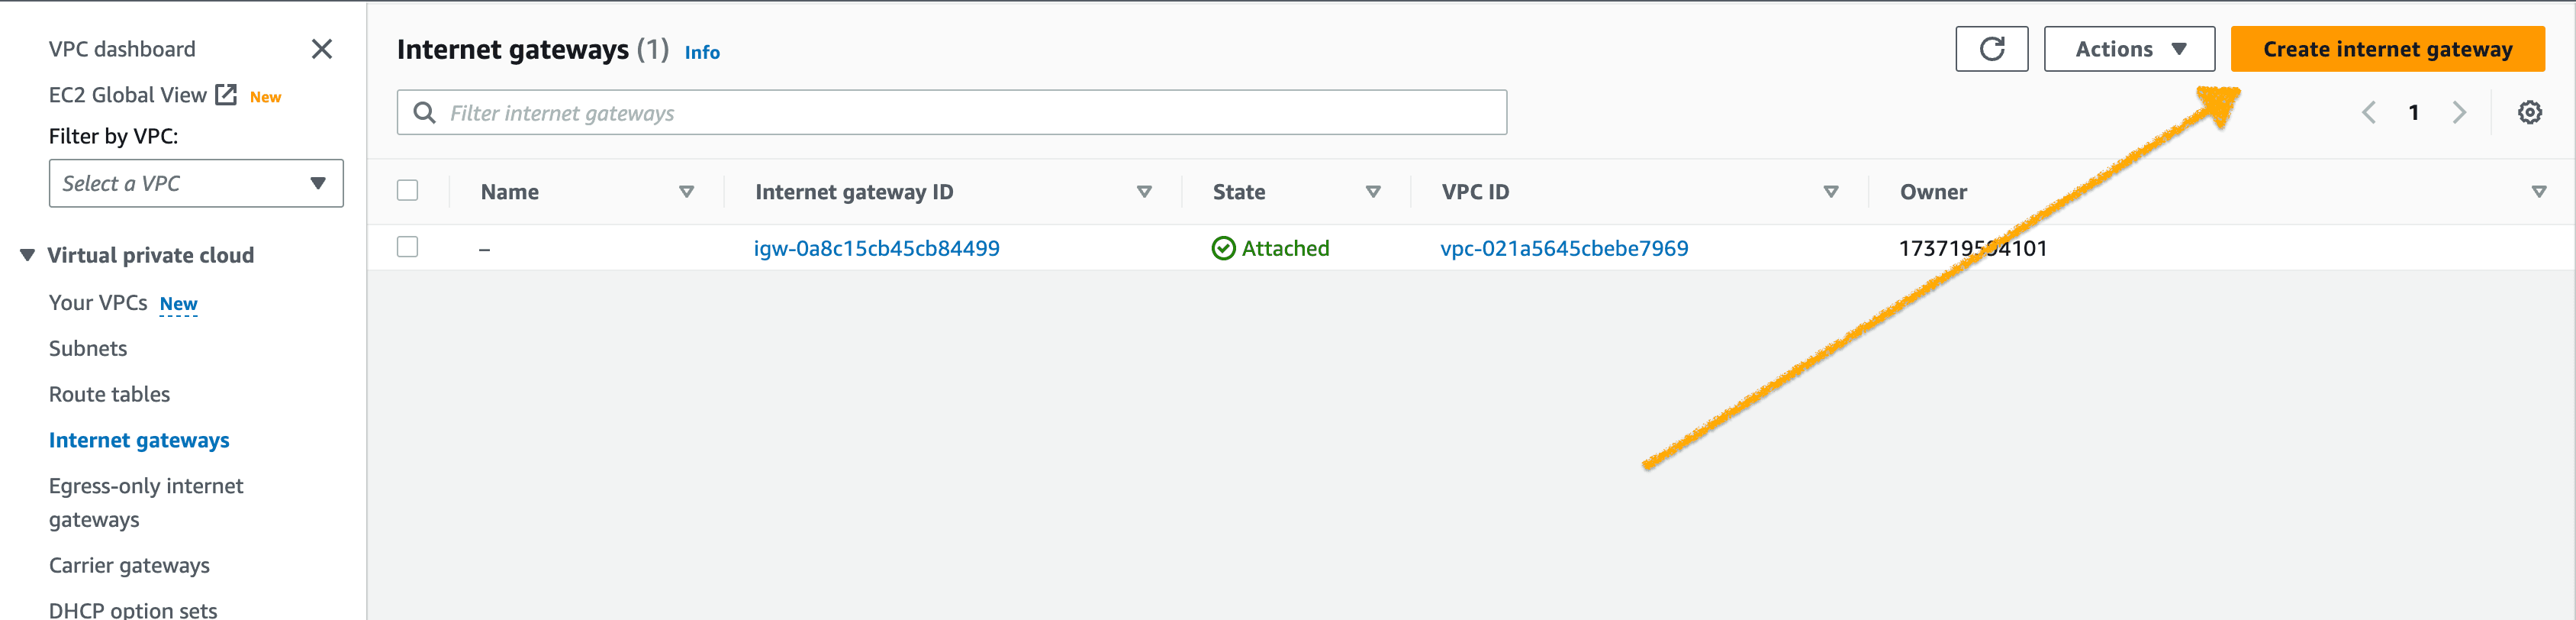
Then click on the orange button "Create internet gateway".
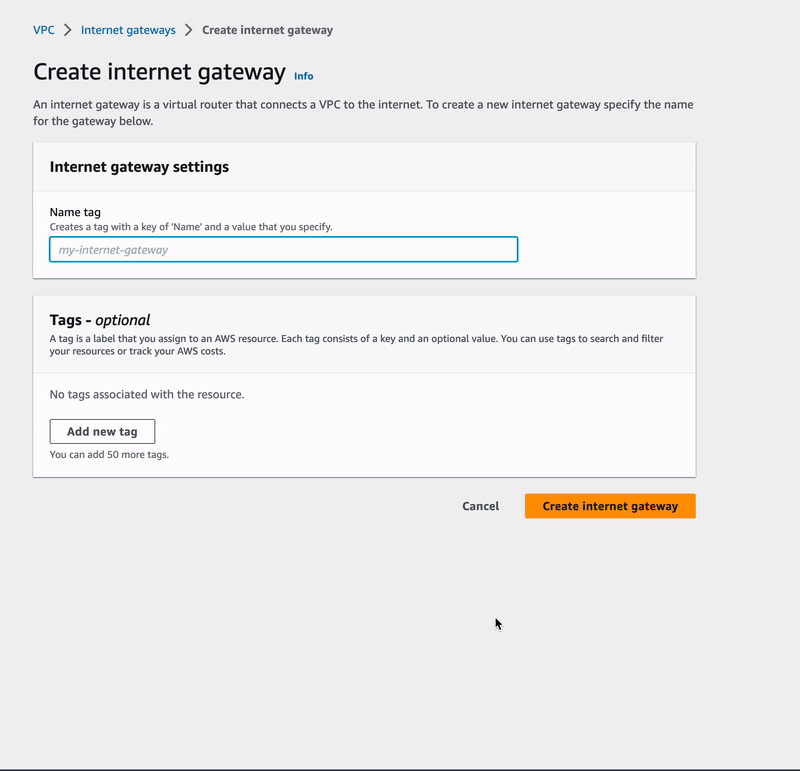
🔖 In VPC > Internet gateways > Create Internet gateway, we named our IGW VPC-IGW-Demo and click on the orange button to finalize the action.
To attach VPC-IGW-Demo to our VPC VPC-Demo, you may re-open the internet gateways
menu on the left side of the VPC dashboard page.
🔖 In VPC > Internet gateways, we selected VPC-IGW-Demo, and clicked on the
actions dropdown menu to select the Attach to VPC option where VPC-Demo was finally
attached.
Apart from having a well-structured network, we have just provided an internet gateway, a sort of router that will allow resources within our VPC to have access to the Internet. That is something good 😁 but for now any EC2 instances deployed within VPC-Demo won't still have internet access 🙁.
The issue here is that we have not defined how network traffics should flow. We need to come up with a rule that will forward traffics from some devices within our VPC toward its internet gateway and also accept outsides traffic toward specific devices still within our VPC. In doing so, EC2 instances residing in VCP-Demo will definitely have internet access.
And that's possible with 💡 Route tables which are going to store our network path information; therefore making the work of the internet gateway count.
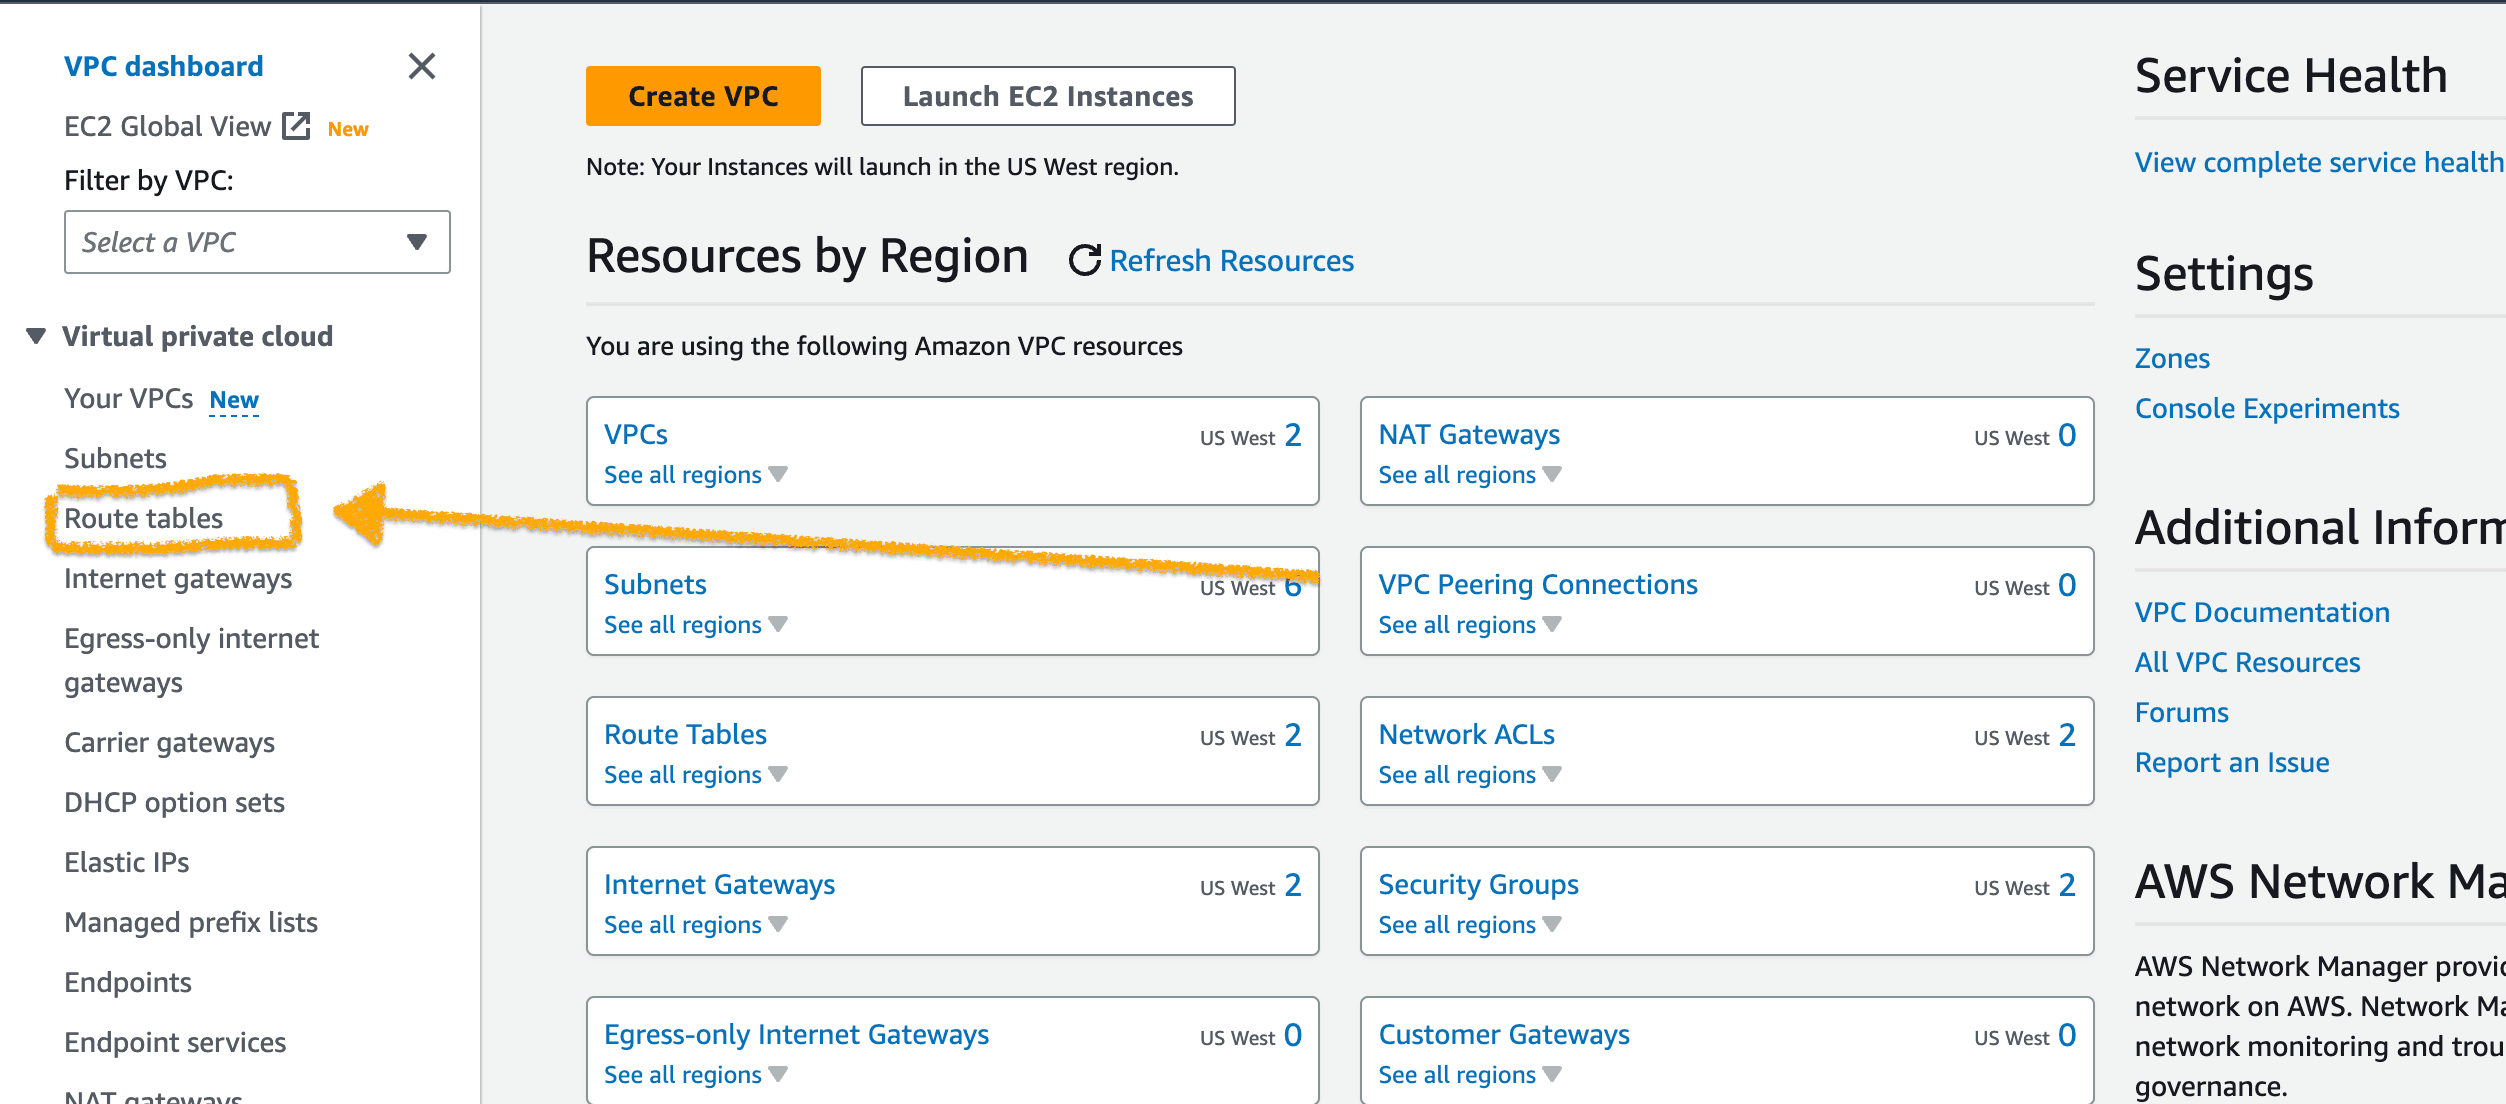
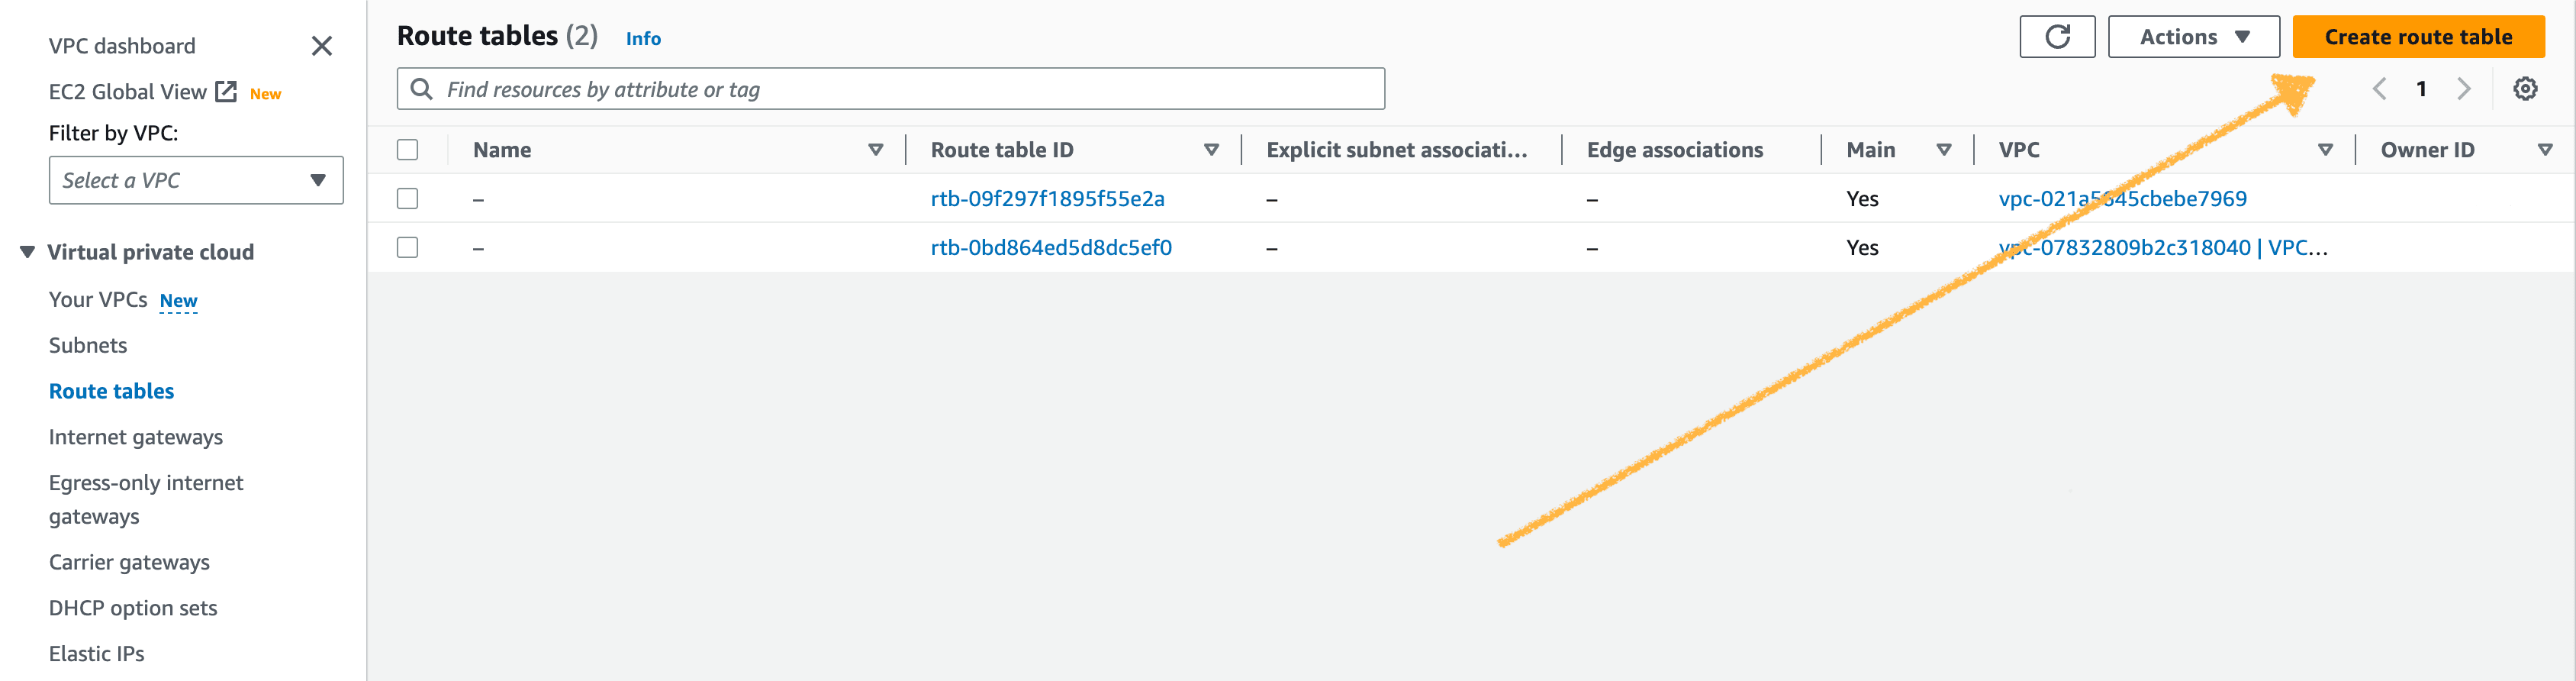
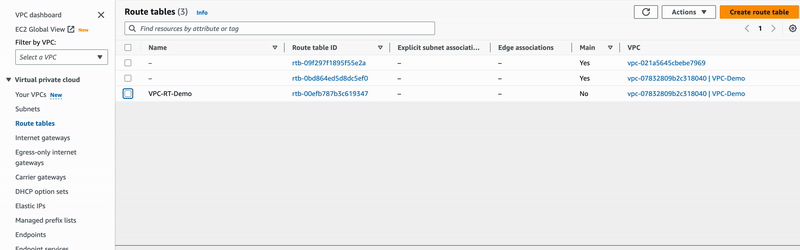
Again, you may go back to the VPC dashboard page now to open the Route Tables menu on the left side.
In there, we are going to create a new route table named VPC-RT-Demo and refer
it to our VPC VPC-Demo.
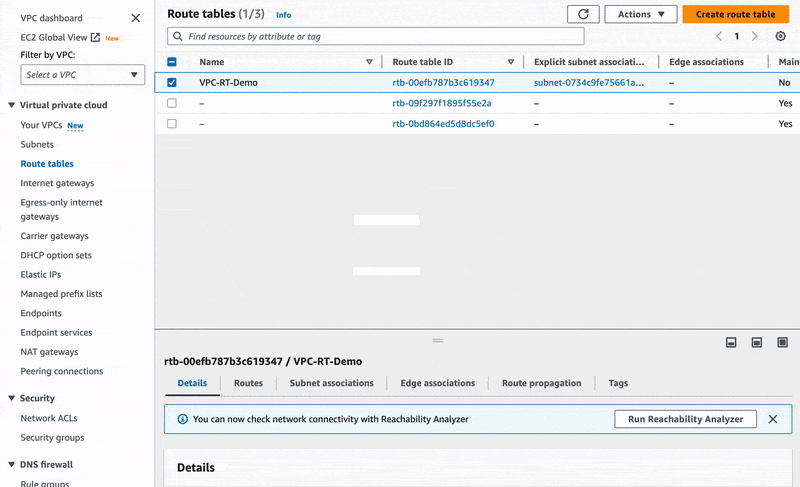
Next, we also need to specify which of the two subnets should be associated with
the VPC-RT-Demo route table. For this practice, we only want EC2 instances
within our public subnet to have internet exposure, so we are going to associate
VPC-RT-Demo to public-subnet.
In your Route Tables menu page, select VPC-RT-Demo, and open the actions
dropdown menu to choose the option Edit subnet associations. Under this one,
only check the public-subnet and save the configuration.
Finally, let's register our network traffic rule. Move to the VPC-RT-Demo route table and edit its routes as it is done below:
🔖 We have just configured our route table to direct all traffic with IPv4 addresses other than 10.1.1.0/24 to our Internet gateway. This will of course involve network traffic from EC2 instances launched in our public subnet.
Remember, we are supposed to configure the public subnet to automatically assign public IPv4 addresses to future hosts, and such hosts will definitely abide by our newer route table rule. To enable the auto assign of public IPv4 addresses, let's edit our public subnet settings like below:
By now, our virtual network is certainly ready to host EC2 instances and provide them with access to the Internet 🚀.
Test 🧪
Here, we are going to check the efficacy of our VPC to guarantee internet access. So, let's launch a new EC2 instance the same way we did launch one earlier but with different network settings.
While launching this new one, we are going to deploy it inside VPC-Demo instead
of doing it within the default VPC. We are also going to specifically tell AWS to
put the new EC2 instance in the public subnet public-subnet from which the instance
will receive a public IPv4 address 🍀 and therefore
be exposed worldwide.
Well here is how you can do it on your side:
- Click the orange button "Launch instance" on the EC2 service dashboard page.
- Name the new EC2 instance and choose the Amazon Linux 2023 AMI as its OS image
- Select the t2.micro for your instance type
- Proceed without a key pair
- But be careful, edit your network settings the way it is done below:
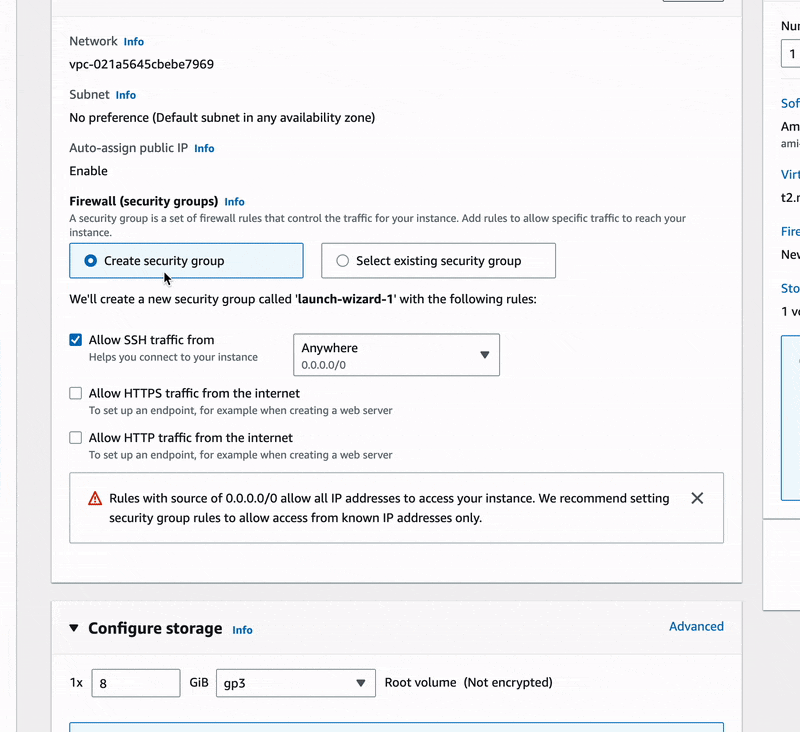
🔖 We made sure to use our VPC-Demo in place of the default VPC provided by AWS, we selected the public-subnet and added a new security group rule that should allow HTTP connections for our instance.
- Before clicking on the final launch button, open the advanced details section and under
user dataadd the same bash script we used in the previous launch to pre-install the Apache HTTP server in the new instance. - Now gracefully launch your instance.
If all went well, your new EC2 instance will run the Apache HTTP server and successfully deliver the HTML page across the internet. You may try to access the web page at http://your-instance-public-ipv4-address to see the result.
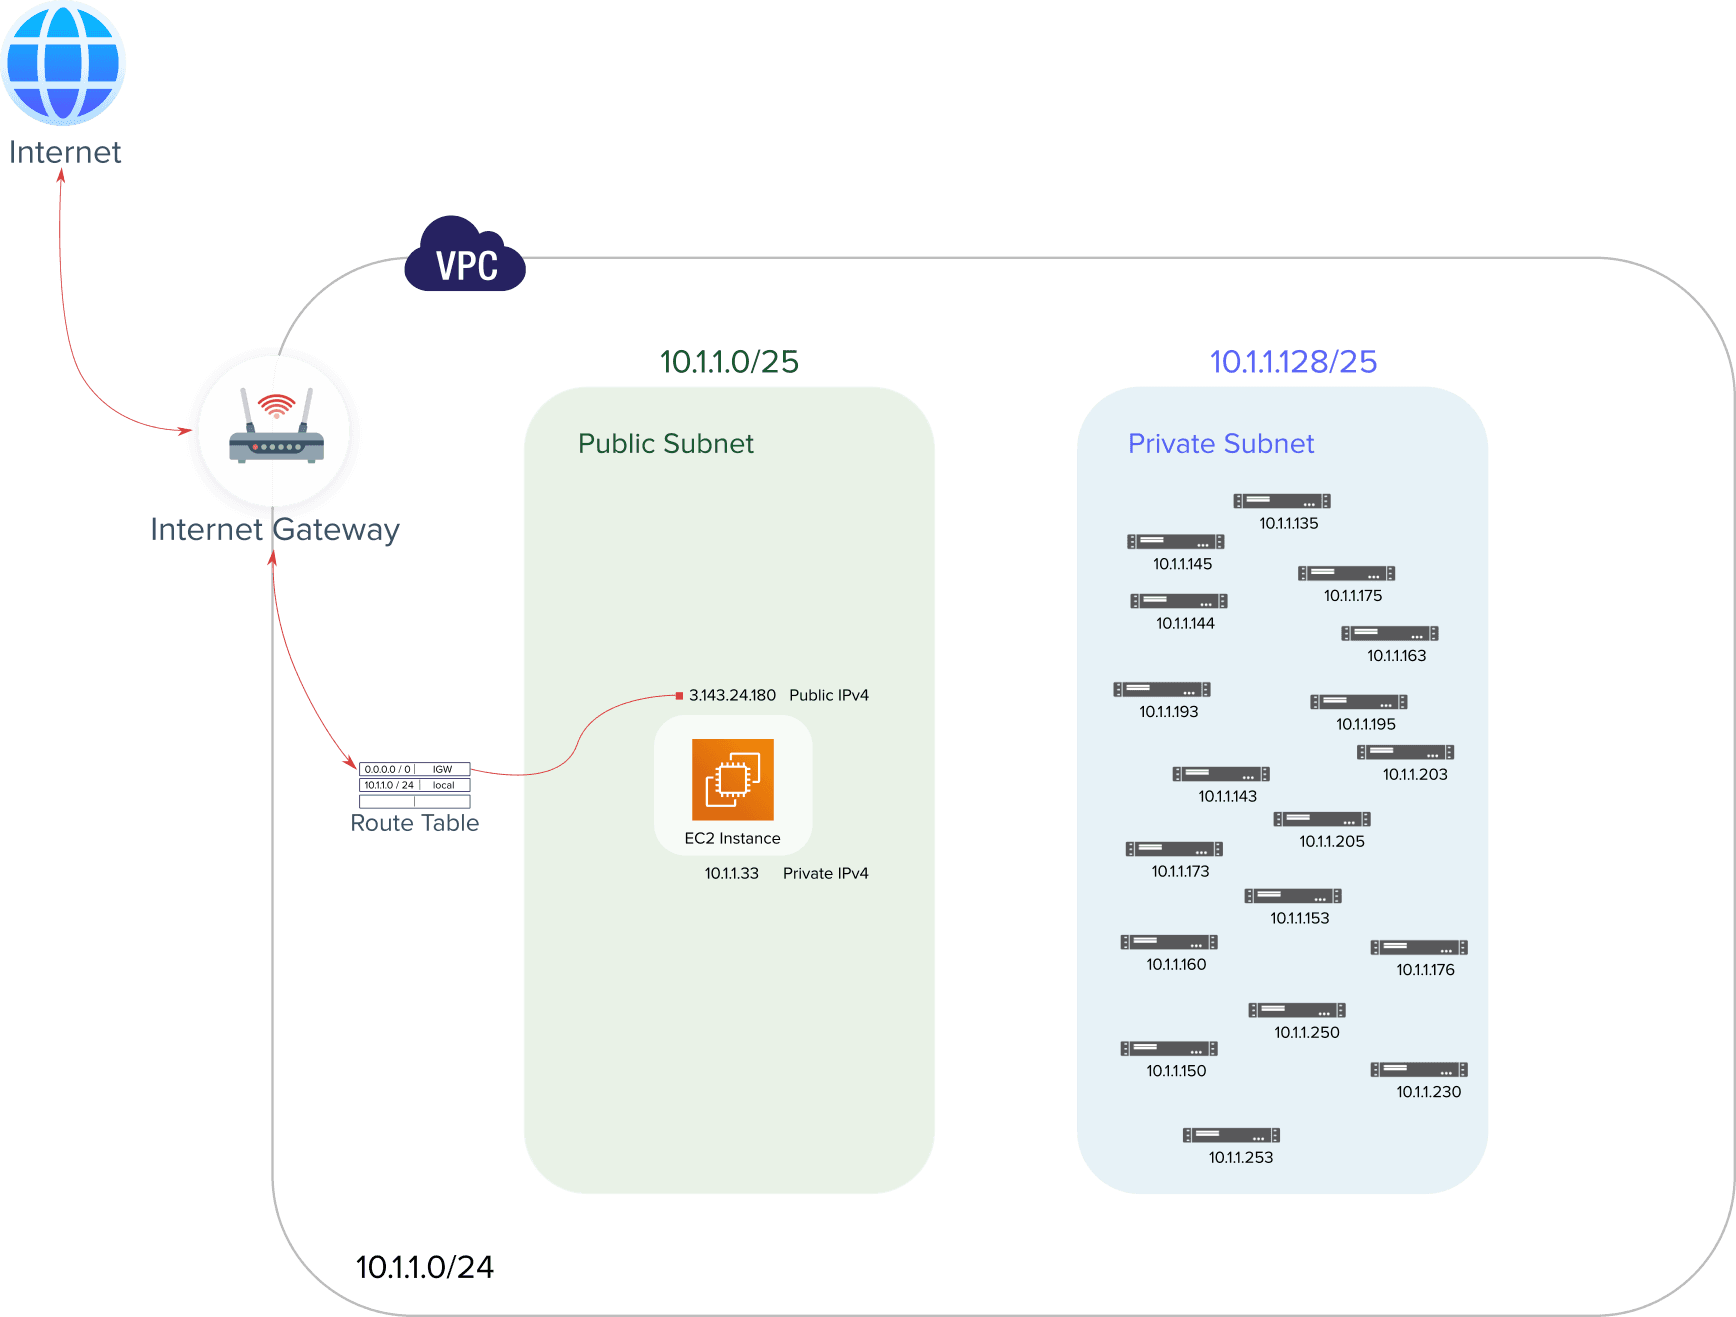
🔖 We finally have our own VPC providing networking capabilities to our virtual Linux server and the way we built it up simply answers the question asked in the beginning about what would make EC2 instances accessible to the internet.
So see you next time for more about the cloud and DevOps ✌🏽.